Educate Forms are simple enough for anyone to create and share, with virtually unlimited customization options!
This checklist will help ensure that you have a solid foundation to build a functional and fantastic looking form:
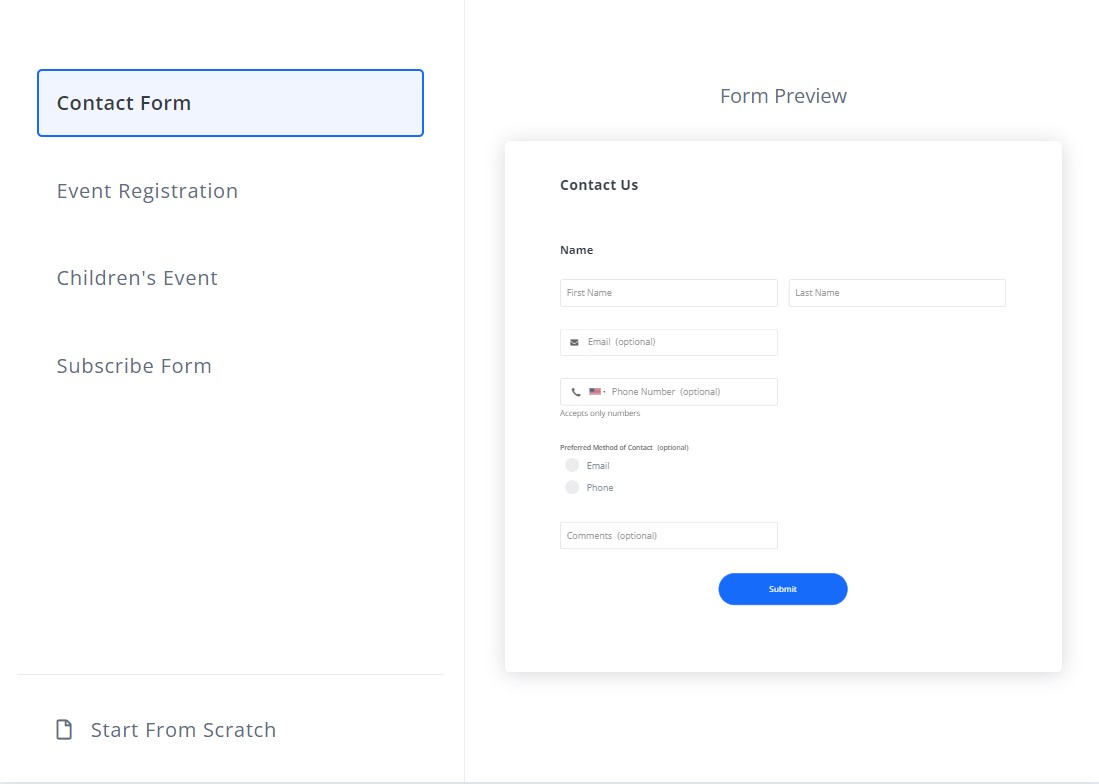
Select your Template
In the top right hand corner the Forms page, you'll see a "+Create New Form" button. That will display your template options. These templates were created with the most commonly used settings and fields for that form type, but can still be tailored to your exact needs.
Configure your Form Fields
Each template has data collection Form Fields built-in for your convenience. If those fields don't fit the exact goals for your form, you can simply remove them, and then add the ones you do need. There are many intuitive field types and options, so be sure to read more about Form Fields here.
Configure your Form Properties
Form Properties options are the same for every type of form, but each template will vary slightly in pre-selected options. There are a few very important properties that you definitely do not want to overlook such as adding eye-catching color or an image to your form, and customizing the email notifications for each form submission.

Save & Publish Form
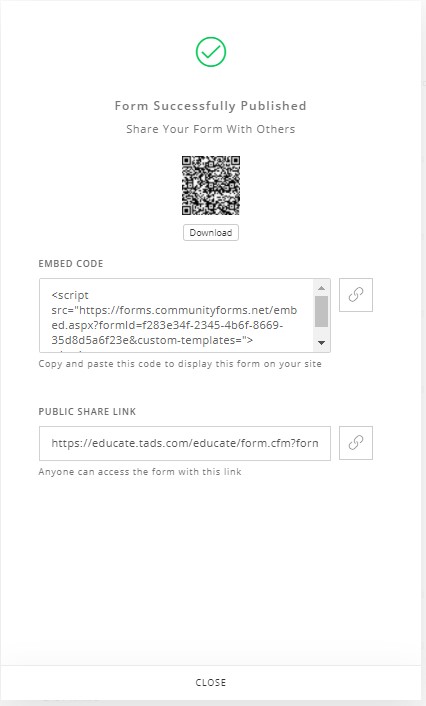
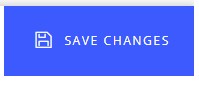
Each time you work on your form you'll want to be sure to click Save from the bottom right hand corner. You'll also be prompted to Publish your form. Publishing your form will create your sharing options. Note: Publishing will also override the existing version of your form that is "live" if you have already it linked or embedded it.
Share your Form
You have a few ways you can share your form with the world.