
Setting Up Honor Roll Types
When setting up your system, you must set up the honor roll types before you can run the honor roll. This only needs to be done once, after which you can generate the honor rolls set up in this step for each term.
- In the School module, select the Setup tab. The Setup tab appears.
- Under Instructions, click Honor Roll. The Honor Roll page appears.
- In the blank Name text box, type the name of the honor roll.
- In the Honor Roll Limit text box, type the highest number of students that can be included in this honor roll.
- HINT: This option is rarely used. If you do not limit the number of students in this honor roll, leave this text box blank.
- Click Save.
- Repeat steps 3–5 until all desired honor rolls are added.

Running the Honor Roll
You can generate a list of all students who are on the honor roll for the term using a report. If you perform this step before running report cards and include a section on report cards for the honor roll, students who are on the honor roll will have that information displayed on their report cards. You can set up multiple honor rolls if needed (e.g., A honor roll and B honor roll) for each term.
- In the Results module, select the Reports tab. The Reports tab appears, with the Reports options displayed by default.
- Under Measures, click the Honor Roll link.
- Click Add an Honor Roll. The Add an Honor Roll page appears.
- In the Batch Name text box, type a name for this honor roll (e.g., 7th – 8th grade A honor roll).
- It is recommended to include the grade name, the honor type, and the term in the name.
- From the School Year drop-down menu, select the school year for which this honor roll is being run.
- From the Grading Period drop-down menu, select the grading period for which this honor roll is being run.
- From the Honor Roll drop-down menu, select which honor roll is being run.
- HINT: Types of honor rolls are set up by administrators in Cornerstone the Results module, and are set up with the lowest allowable GPA to be placed on the honor roll.
- Click Next. The Select Students page appears.
- Click Add Students. The Search page appears.
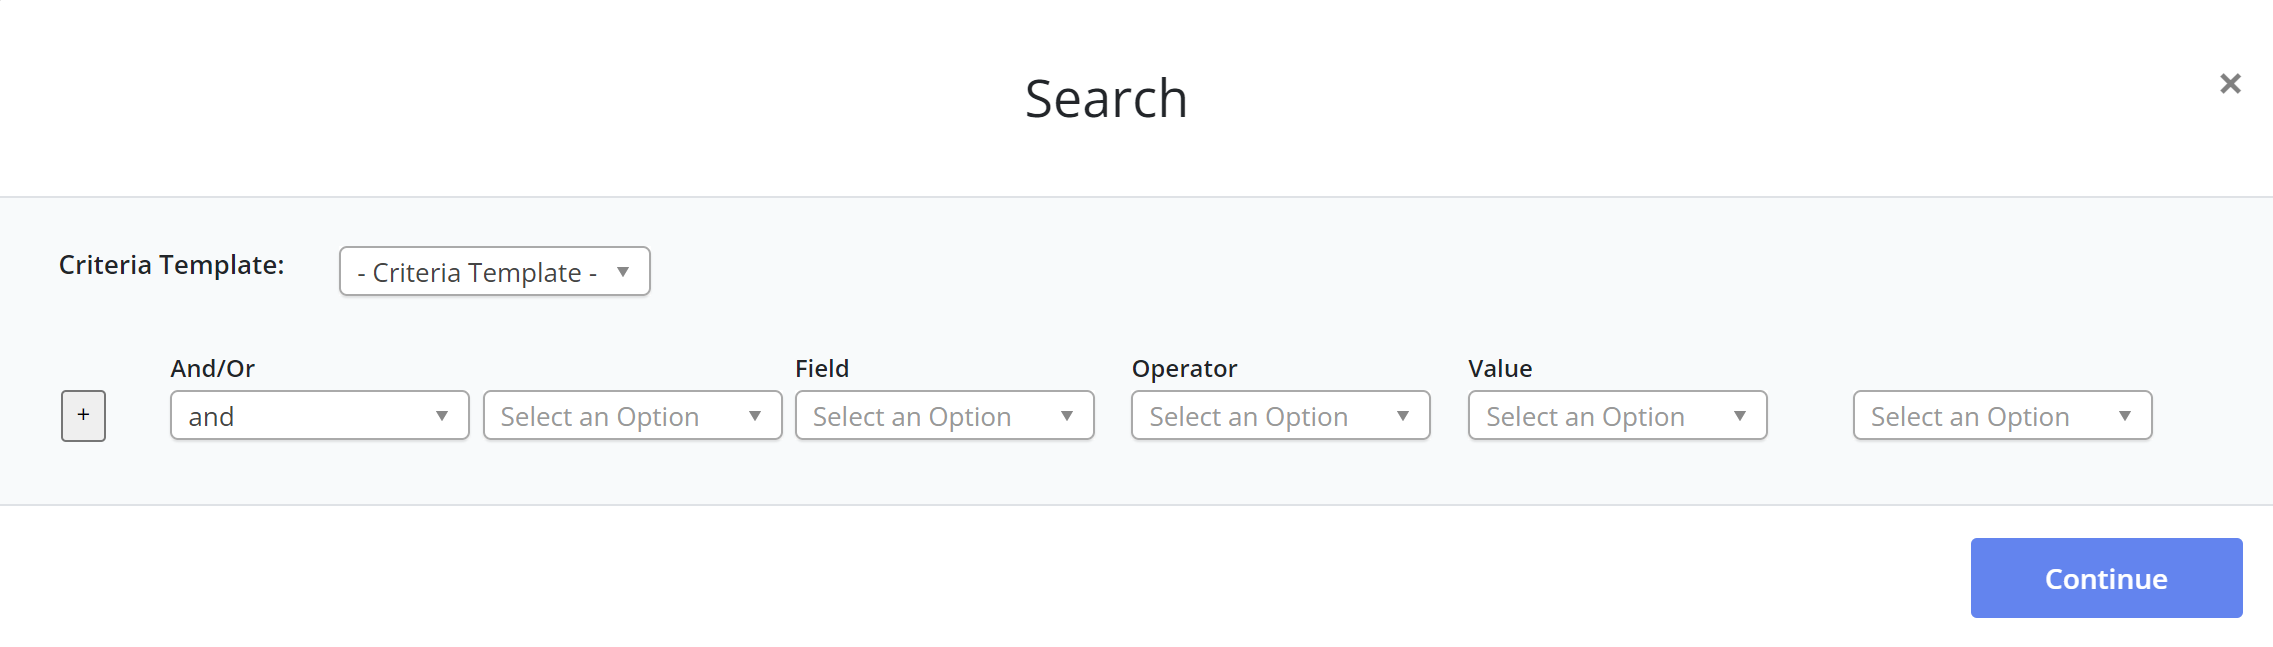
- If you have saved templates of criteria to find the students, from the Criteria Template drop-down menu, select the template with the criteria to use for your search.
- NOTE: Any students who have already been added to an honor roll will not appear in your search.
- To add or edit criteria,
- OPTIONAL: To group multiple criteria together, use the parentheses in the second drop-down menu and the last drop-down menu.
- EXAMPLE:
- EXAMPLE:
- From the Field drop-down menu, select the column for which you are restricting the values.
- From the Operator drop-down menu, select the way in which the field value must relate to the value you are specifying (e.g., if the value should be equal to the one you are about to specify, should not be blank, or should contain the value and etc.).
- From the Value drop-down menu, type or select the value for the criteria.
- If necessary, close any parentheses by selecting a closed parenthesis from the drop-down menu.
- WARNING: Make sure that there are no parentheses left open when you continue; if there is an extra opening or closing parenthesis, the report will generate an error and your criteria selections will be lost.
- To add a new criterion, click Add +. A new row appears.
- OPTIONAL: To relate this criterion to a previous criterion, from the first drop-down menu, select whether both criteria must be met (And) or only one of them (Or).
- NOTE: If both And and Or are used within one set of criteria, you will need to use the parentheses in the second drop-down menu to group criteria together.
- Repeat steps a–g until all desired criteria are added.
- OPTIONAL: To group multiple criteria together, use the parentheses in the second drop-down menu and the last drop-down menu.
- When all criteria are set up, click Continue. A list of all students matching the criteria and not already included in an honor roll appears.
- Select the checkbox(es) for all students to add to this honor roll.
- OR
- To select all students displayed here, select the checkbox in the header row.
- Click Add Selected. A list of all students selected for this honor roll appears.
- Repeat steps 9–14 until all desired students are added to the honor roll.
- OPTIONAL: To remove any students from this honor roll,
- Select the checkbox by the desired student’s name.
- Bulk Actions: Click Remove Selected.
- When finished adding and removing students, click Next. A final list of students appears.
- To print the list of students, click Print.
- To finalize the honor roll, click Finalize Batch.
- Once an honor roll is posted, you cannot go back and edit that honor roll.


Questions or concerns?
Reach out to Educate Support at educate-support@communitybrands.com